Tiledesk is a powerful customer service platform that empowers businesses to provide exceptional support experiences. By seamlessly integrating with various digital channels and offering a range of features, Tiledesk enables businesses to streamline customer interactions, enhance engagement, and optimize support processes.
In this step-by-step guide, we will walk you through the process of setting up and using Tiledesk effectively.
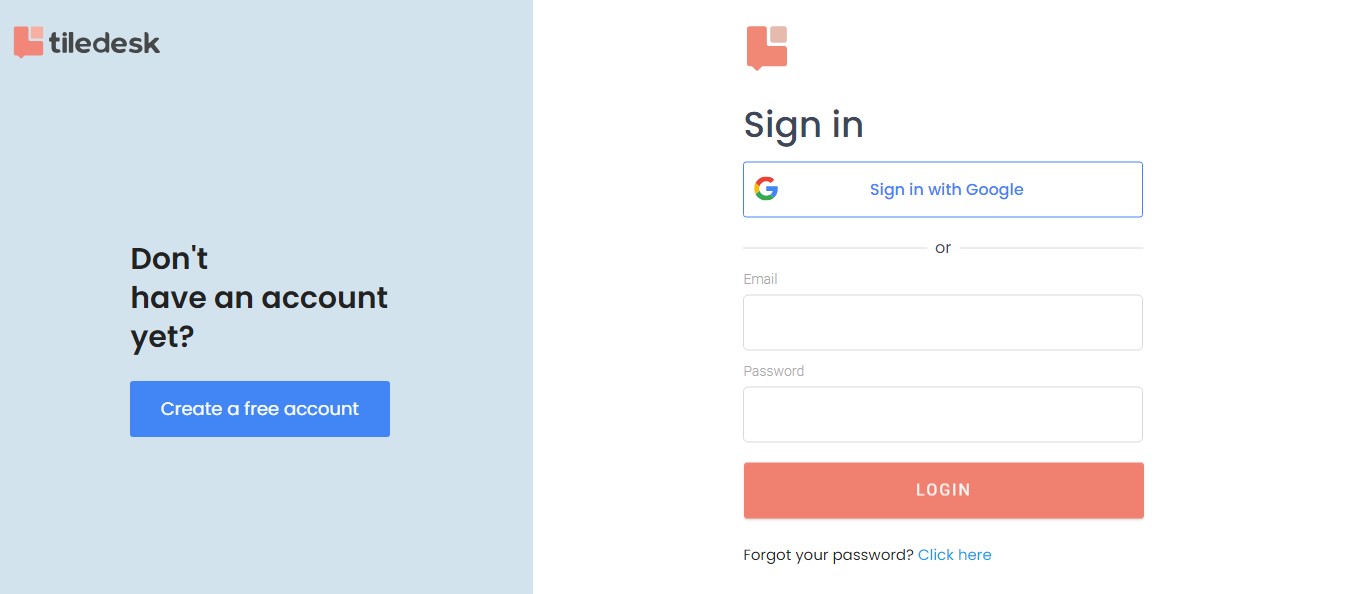
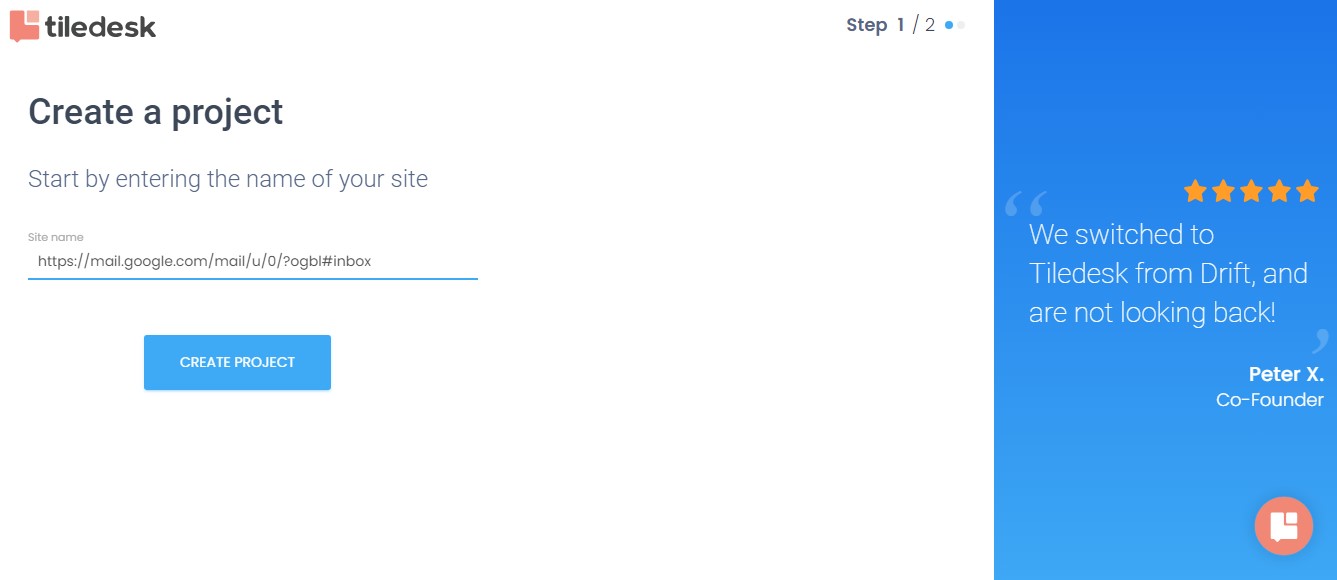
Step 1. Set Up a Project: Click "Get Started" to kick off your journey with Tiledesk. You can sign in with your Google credentials to let Tiledesk know your name and email address. Then, fill in your name, the name of your company, how many people work with you, and what your field is.
Next, you'll be asked what your main goal is: "solve customer problems" or "increase online sales". The following question asks how you want to reach this goal: "I want to talk to customers" or "I want to automate conversations". Finally, what channel most interests you: "web/mobile" or "Whatsapp/ Facebook Messenger".

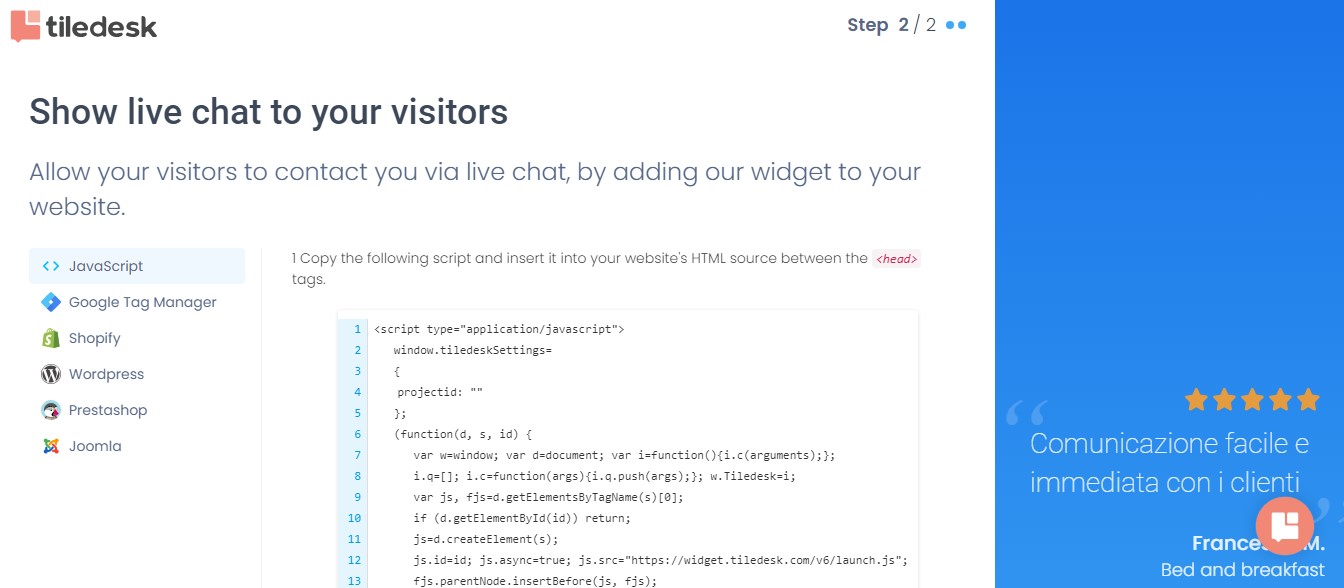
Step 2. Add Script to Your Website's HTML: Tiledesk will generate a script that you need to copy and paste into your website's HTML source between the <head> tags. Then, when you open your website, your widget will be present.
Now, you'll be taken to the dashboard that tracks your generated leads, unique visitors and messages in the last 30 days. You can manage your widget and chatbots from here.

Step 3. Set Up and Manage Employees: With Tiledesk, you can create user accounts for your customer support team members. Assign appropriate roles and permissions to ensure efficient collaboration and streamlined workflows.
By defining user roles, you can control access to specific features and information within Tiledesk, ensuring that each team member has the necessary permissions to carry out their tasks effectively.

Step 4. Create Canned Responses and Workflows: Additionally, customize chat workflows, canned responses, and chat routing rules to optimize your customer support processes. By configuring chat workflows, you can define the steps and actions required to handle customer inquiries efficiently.
Canned responses are automated responses to customer issues. They allow support agents to quickly address common questions or issues, saving time and providing consistent responses. Chat routing rules ensure that customer inquiries are directed to the appropriate support agents based on predefined criteria, ensuring timely and effective resolution.
Step 5. Set Up Chatbots: Go to the "bots" page and click "add bot" to get started. Tiledesk Resolution bots are question-answer bots and they are a great place to begin. They offer answers to frequently asked questions. Click "create bot" and begin to train it with your FAQ knowledge base.
Tiledesk provides more in-depth instructions on bot creation and implementation in their help docs.


