The guide will lead you through the process of making stunning interactive generative art, empowering you to unleash your ideas using cutting-edge AI technology.
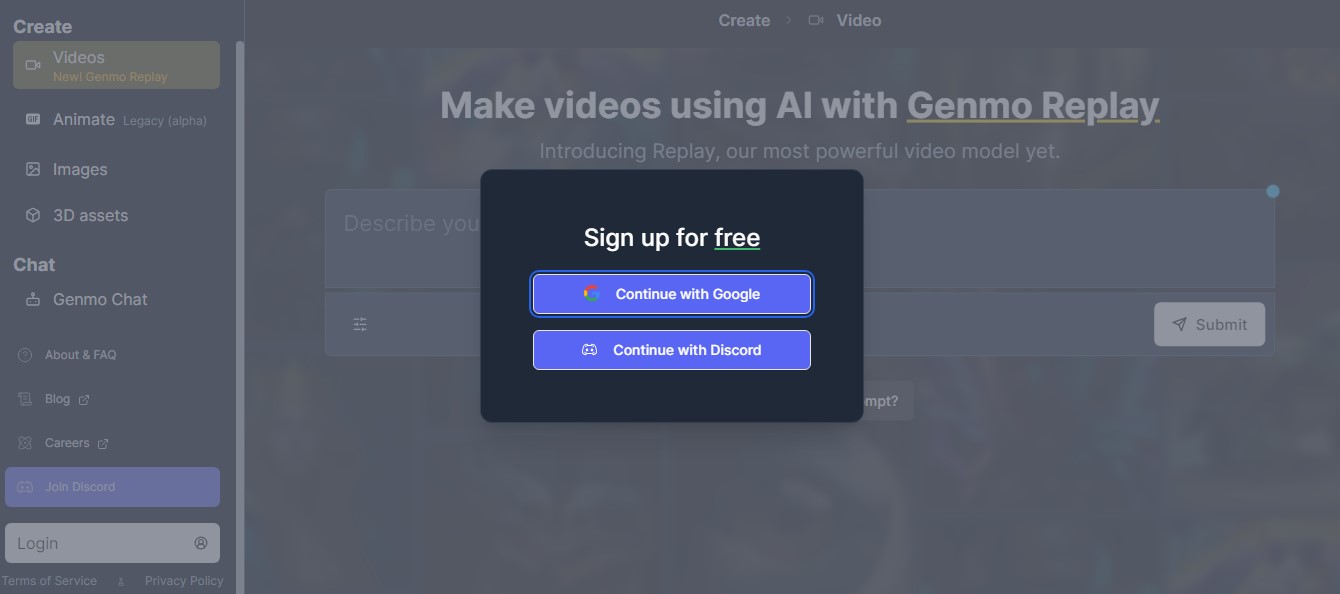
Step 1: Registration and Account Setup: Visit Genmo's website and click the "Sign Up" button to begin your creative journey. You can register with either your Google or Discord account. Complete the registration process by following the simple instructions, and then log in to your Alpha Genmo AI account. You are now ready to experiment with and release your creativity using the platform's generative art tools.

Step 2: Get to Know the Genmo Interface: After you've logged in, take a look around the Alpha Genmo AI platform. Learn about the user interface, navigation bar, and the different creative alternatives available. Spend some time learning how to use the various tools, settings, and capabilities. This will make you feel more at ease and confident when creating interactive generative art projects using Genmo.

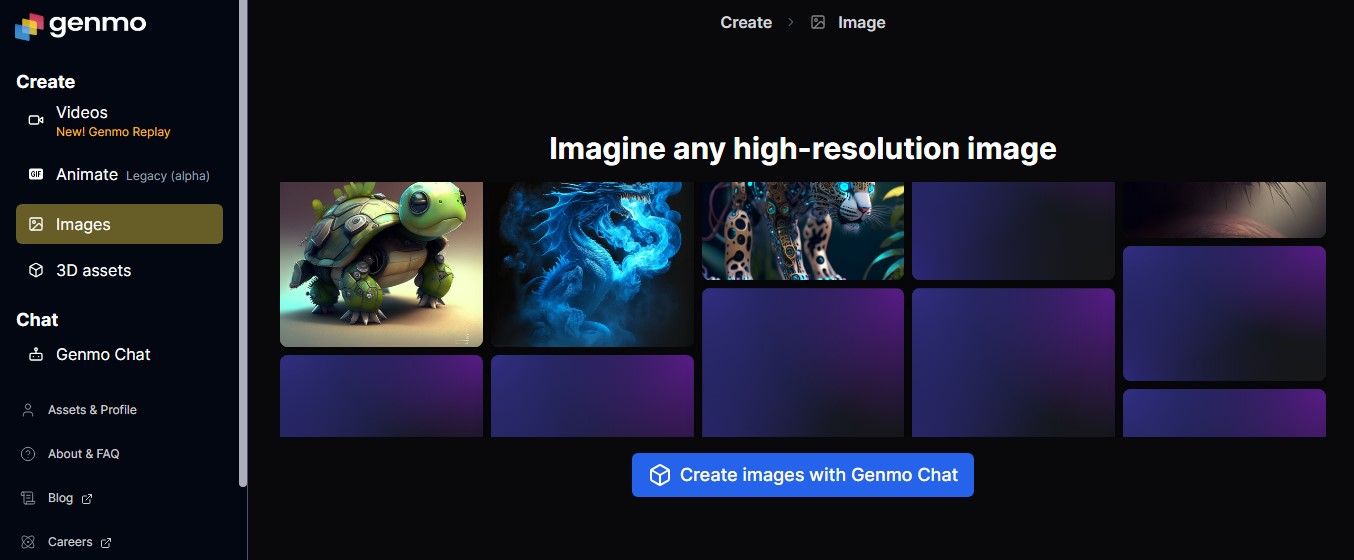
Step 3: Determine Your Creative Path: Genmo provides a variety of creative solutions to help you realize your artistic ideas. When you log in, you'll see four primary options to explore: "Create New Images," "Generate a Video," "Animate an Image," and "Edit Existing Images."
Select the option that corresponds to your creative aim and desired output. "Create New Images" is great if you prefer starting from scratch and painting your ideas. "Generate a Video" offers enthralling opportunities for dramatic storytelling. "Animate an Image" brings static images to life, whilst "Edit Existing Images" allows you to alter and improve on previously created content.
Each path provides a unique opportunity to explore the potential of generative art, so choose the one that sparks your creativity and begins you on the way to producing captivating interactive art creations with Genmo.
Step 4: Generate New Images: To create a new image, simply input text describing how you want your image to appear and wait for the software to generate an image. Experiment with different colors, shapes, and textures while using a number of tools and possibilities to make your concept a reality. Each design can be used to create video animations or other Genmo applications.

Step 5: Animate an Image: Choose "Animate an Image" to bring still images to life. Upload the image you want to animate or select one from your current works. Guide the animation process with prompts, adding details and actions to each frame. To acquire the desired effect, experiment with different animation parameters.
You can use this option to create engaging and dynamic visual stories, bringing your art to life in new and inventive ways. Once the animation is finished, you can preview, fine-tune, and share your animated masterpiece with the rest of the world.
Step 6: Make Changes to Existing Images: Upload the image you want to edit and use the text prompts to indicate the style or content changes you want. Genmo's AI will develop new versions of the image depending on your prompts, allowing you to experiment with different creative approaches.
Look through the findings and choose the one that best fits your artistic vision. This option allows you to breathe new life into your artwork, experiment with different styles, and fine-tune your masterpieces.
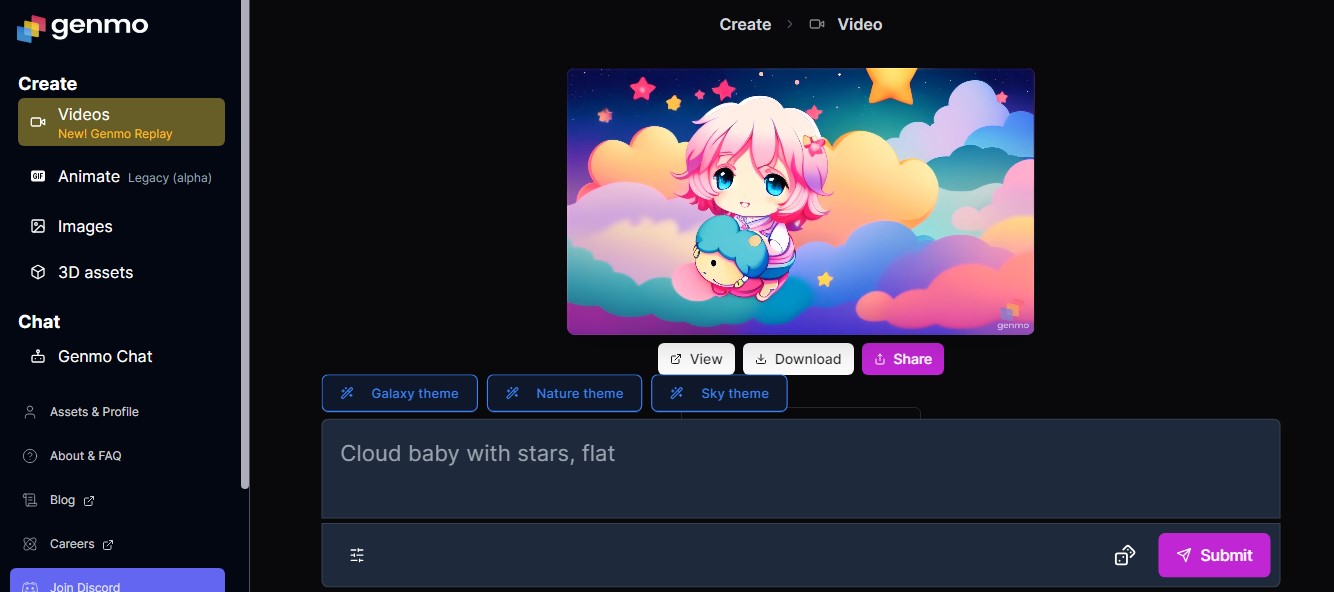
Step 7: Insert Text Prompts for a Video: Text prompts are extremely important in steering the generative art production process. Create thorough descriptions for each scene or frame to help the AI better understand your vision.
To create a consistent and entertaining narrative, sprinkle prompts throughout the film. With up to ten prompts accessible, you have plenty of room on Genmo to experiment and influence the storytelling components of your generative artwork.
Step 8: Adjusting Video Settings: When working with video content, you will be able to modify its appearance and behavior. Here are some of the most important video settings to explore.
Video Length: Users can specify the length of the video, which can range from brief 5-second segments to longer 10-minute epic animations. This adaptability enables the creation of videos appropriate for a variety of platforms and purposes.
Dynamism: The "Dynamism" percentage determines how much variance there is between video frames. Higher numbers provide more drastic changes between frames, whilst lower values produce more subtle, progressive transitions. This option allows viewers to adjust the visual style and tempo of the video.
High Quality: Users can flip the "High Quality" switch on and off. Turning it on results in crisper, more detailed films, but it may lengthen the creation time. Turning it off results in faster draft previews, which are ideal for testing and iterating on ideas.
Text Prompts: Text prompts are essential for guiding the video creation process. Users can provide precise descriptions for each scene or frame, giving the AI context to better grasp their creative goal.
Step 9: Evaluate and Improve Your Work: You can preview your creation on the Genmo platform once the generative process is complete. If you want to make modifications, click the "Remix" button to reopen the prompt sections and make the necessary adjustments.
You can also fine-tune your artwork by editing components of the movie, such as the first frame or animation.
Step 10: Share Your Masterpiece: When you're happy with your generative art, you may share it with the Genmo community. To allow others to view and remix your masterpiece in the public gallery, toggle the "Public" option. Click the "Export" button to save the video to your computer for sharing across several platforms.
The step-by-step gudie for using Alpha Genmo AI provides an exciting chance for creators to explore the world of interactive generative art. Users can begin their creative adventure right away, thanks to the thorough instructions offered, and explore the endless possibilities of AI-powered artistic creation.


