Altered Studio offers a seamless and user-friendly experience for transforming your voice into an array of captivating personalities.
Whether you're a voice actor, content creator, or media studio, this AI-driven voice editing tool is designed to help you bring your audio content to life. Follow this step-by-step guide to unlock the full potential of Altered Studio.
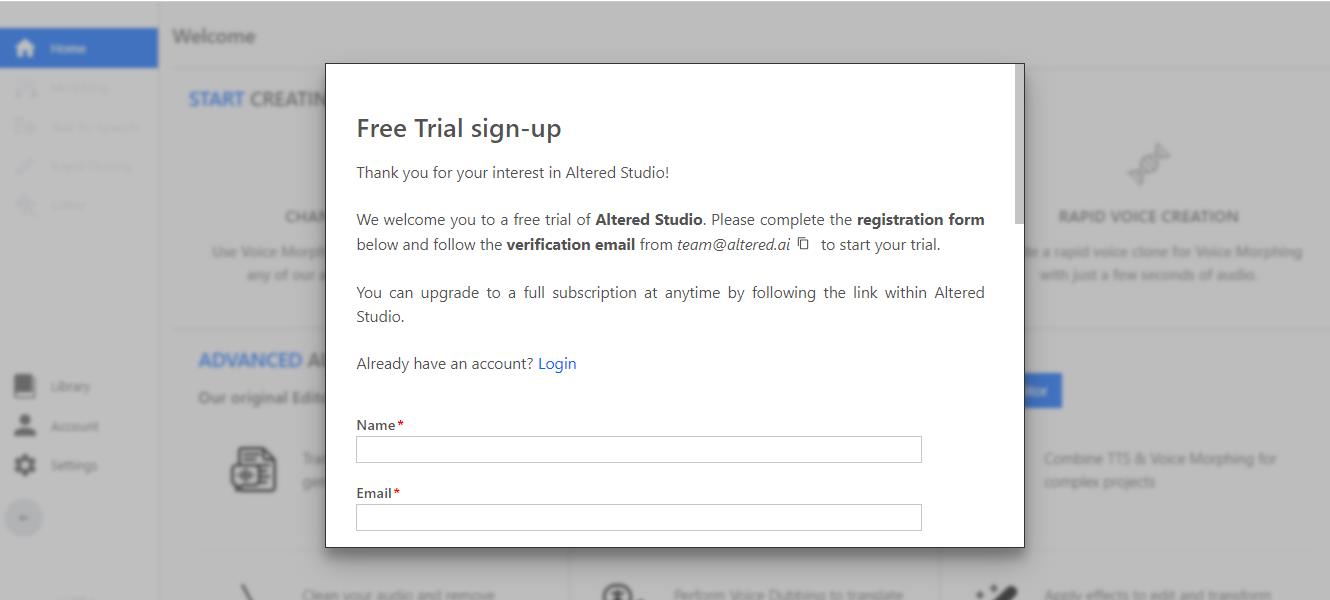
Step 1. Sign Up and Log In : To get started with Altered Studio, visit their official website and create a new account. You'll need to provide your email address, choose a password, and agree to the terms of service and privacy policy.
Once registered, log in to your Altered Studio account using your email and password.

Step 2. Accessing the Altered Studio Interface: After logging in, you'll be directed to the Altered Studio interface. This is where the magic happens.
Familiarize yourself with the different features and tools available on the interface. You'll find options to record, edit, and transform your voice, as well as select AI voices and manage your projects.
Step 3. Recording Your Voice: Before applying voice transformations, you need to record the audio you want to modify. Click on the "Record" button on the interface to start recording your voice. A new recording window will appear.
In the recording window, you'll see options to adjust your microphone settings, such as input volume and device selection. Press the "Start Recording" button when you're ready to begin. Speak clearly and naturally to capture the best audio.
Step 4. Editing Your Recording (Optional): Altered Studio also provides basic editing features to refine your recorded audio. You can trim, cut, or adjust the volume of your recording.
Use the editing tools to remove any unnecessary pauses, background noise, or imperfections from your audio.
Step 5. Selecting an AI Voice: Now comes the exciting part – choosing an AI voice to transform your recording.
In the voice library or selection menu, browse through the portfolio of diverse AI voices available in Altered Studio.
Preview the different voices by listening to short audio samples or clips to find the one that best fits your desired personality for the performance.
Step 6. Customizing Your Voice (Optional): While the pre-existing AI voices are impressive, you may want to create a more unique voice that aligns perfectly with your creative vision.
Altered Studio offers the option to customize AI voices based on your own voice. Select "Custom Voice" from the voice library and follow the instructions to create a personalized AI voice.
This process may involve reading a few sentences to train the AI model on your unique speech patterns and vocal characteristics.
Step 7. Applying the Voice Transformation: After choosing the AI voice or creating a custom voice, it's time to apply the transformation to your recorded audio.
In the Altered Studio interface, find the option to "Apply Voice Transformation" or a similar command. Click on it to begin the voice-changing process.
The AI model will analyze your recorded audio and apply the chosen AI voice's characteristics to it, generating the transformed version.
Step 8. Review and Fine-Tune: Once the transformation is complete, listen to the altered audio to review the results.
Pay attention to the nuances and make any necessary adjustments to ensure the transformed voice aligns with your intended performance.
Step 9. Save and Export: When you're satisfied with the transformed audio, save your project within Altered Studio. Depending on your requirements, you can export the altered audio in various formats, such as MP3, WAV, or others, to use in your desired audio or video projects.
Step 10. Share and Engage: Now that you have your captivating voice performance ready, it's time to share it with your audience.
Use the transformed audio in your podcasts, videos, animations, or any other audio content to add a unique touch and engage your listeners.


