Now that we know a little bit about Castmagic, let's run through how to use this tool, step-by-step.
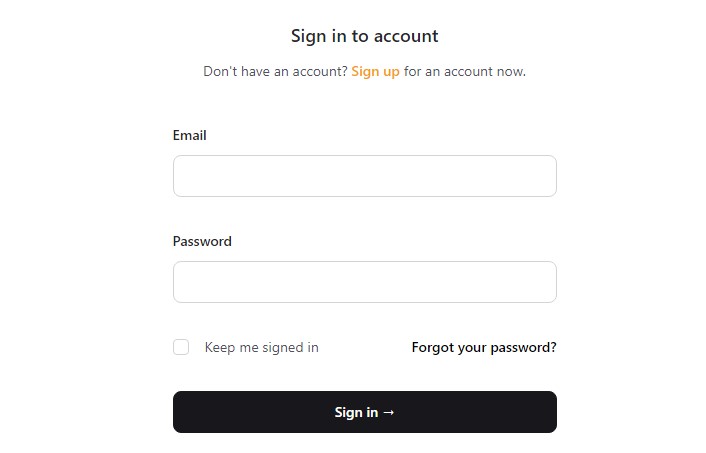
Step 1. Sign Up and Log In : Visit Castmagic's official website to get started. A sign-up or registration option usually appears in the top right corner of the page. When you click on it, you'll be asked to provide some personal information, such as your name, email address, and a secure password. After entering the necessary information, click the "Sign Up" or "Register" button to create your Castmagic account.

Step 2. Access the Dashboard: You will be led to the Castmagic dashboard once you have successfully joined up. This is your key hub for managing all parts of the content creation process. The dashboard may have a straightforward appearance, with choices to upload files, browse past material, and experiment with customizing tools.
Step 3. Upload Your Edited Audio File: It's time to start creating material after you've reached the dashboard. Look for the "Upload File" button, which should be visible on the dashboard or in the main navigation menu. To launch the file selection dialog, click this button.
Navigate to your computer's files and select the altered audio file you want to use as the foundation for creating content outputs. Castmagic supports commonly used audio formats like MP3, MP4, and M4A, making it compatible with nearly every kind of podcasting setup.
Step 4. Start the Content Generation Process: After you've chosen and uploaded your audio recording, click the "Generate" button to begin the content-generating process. The audio will then be analyzed, transcribed, and advanced AI algorithms will be used to extract crucial information such as timestamps, quotes, summaries, and more.
This automated process allows you to save a significant amount of time that would otherwise be spent manually producing these pieces. It also avoids human error when transcribing.
Step 5. Review and Customize Generated Content: Following the last step of the content-generating process, you will notice numerous components that Castmagic has generated for you, such as correct transcripts, time stamps, quotes, summaries, titles, keywords, tweet threads, LinkedIn posts, topics & bullets, newsletters, and more.
Check these out and make any necessary changes.
Step 6. Utilize Magic Chat and Content Presets: Consider researching the Magic Chat and Content Presets capabilities if you want to include some more customization possibilities or enhancements. You may modify the generated material using these tools so they correspond with your preferences.
Step 7. Let Castmagic Work Its Magic: Click the "Magic" button once the content has been modified (if necessary). The final material will be produced depending on your choices after Castmagic has processed your inputs. It shouldn't take long to complete this.
Step 8. Access Your Generated Content: As if by magic, the material is suddenly available for you to access and use. The generated content outputs are essentially organized by Castmagic, making it simple for you to find and download them. The dashboard functions as the database, classifying the material according to the various platforms it can be applied on.
Step 9. Publish and Share: Now that your content is prepared, you can use it across a variety of platforms to expand the audience for your podcast. Think about incorporating it into your show notes, email newsletters, YouTube scripts and descriptions, Twitter threads, LinkedIn updates, Instagram posts, blog entries, and any other channels you use.
Step 10. Schedule Onboarding Call (Optional): Consider scheduling an onboarding session with the Castmagic team if you require additional assistance or have particular queries about using Castmagic efficiently. They can offer suggestions and individualized help.
Step 11. Explore Castmagic's Quickstart Guide: Be sure to read their quickstart guide if you want to make the most of Castmagic. It will provide further advice, best practices, and in-depth platform knowledge.


